Page 2 of 2
Re: You Tube Video - The Mount Package
Posted: Fri 02 Feb, 2018 12:32 pm
by Tudor Rose
Framemaker Richard wrote:The approx 2mm gap is the standard practice at the British Museum for mounting and making window mounts... I wonder what their reason is for doing it?
Quote from "Conservation Mounting for Prints and Drawings - a manual based on current practice at the British Museum - by Joanna M Kosek" (page 36 for anyone interested in looking it up)
".... Weight down the window mount and back board in position leaving a small gap of about 2mm between the edges to be joined.
Adhere linen tape centrally along the gap. The gap is needed to facilitate easy folding of the mount.
Run a bone folder along the groove in the centre of the tape to ensure that the gap is uniform.
Burnish the tape with a bone folder to ensure good adhesion.
Fold the boards accurately and press the join in position using silicone release paper ....."
Re: You Tube Video - The Mount Package
Posted: Fri 02 Feb, 2018 2:05 pm
by Not your average framer
As a practice, it can make life a lot easier when using thick mounts and under mounts, particularly when the artwork is thicker than usual. I have encoutered this myself, but have not used the same way of getting around the same problem. Thick under mounts can be a lot more rigid and as always something has to give, or remain under stress, ultimately the bowing of more resilient materials within the frame package results in uneven pressure against the glass.
I assume that most of us already know that glass gets more brittle at lower temperatures, but glass already under stress at lower temperature is very easy to fracture during handling, vibration and shock. Also taping the mount and under mount together with no gap and pinning the back in tight against the package may cause the tape joining the mount and under mount together to de-laminate the taped edge of the board as a stress induced reaction, if the thickness of the artwork is thick enough to do this.
If the under mount is too tightly restrained on the side where it is taped and the mount and under mount do not readily give to compensate, then the edge of the mount aperture at the other side of the mount may tend to show a gap between the edge of the mount window and the rear surface of the mount. It's not that hard to understand when you think about it and it worthwhile taking into account when mounting artworks on thicker materials and using thicker and consequently more resilient mounting materials. I think that we can see that these British Museum experts really do know their stuff!
I suspect that some of the framers on this forum catering for the top end of the market are already well aquianted with this practice. It might not be common sense to everyone of us, but to those of us who may come from a design oriented engineering background it is something that many of us already understand. It is true that it makes less difference with thinner mountboards, but it does not do any harm to be aware of such matters.
As a precaution it does not take a significant extra time, or extra cost to follow this procedure and to be honest I was surprised that's mention caused so much fuss. Oh well, we live and learn as they say.
Re: You Tube Video - The Mount Package
Posted: Sat 03 Feb, 2018 5:59 am
by IFGL
Tudor Rose wrote:
Quote from "Conservation Mounting for Prints and Drawings - a manual based on current practice at the British Museum - by Joanna M Kosek" (page 36 for anyone interested in looking it up)
".... Weight down the window mount and back board in position leaving a small gap of about 2mm between the edges to be joined.
Adhere linen tape centrally along the gap. The gap is needed to facilitate easy folding of the mount.
Run a bone folder along the groove in the centre of the tape to ensure that the gap is uniform.
Burnish the tape with a bone folder to ensure good adhesion.
Fold the boards accurately and press the join in position using silicone release paper ....."
If that is the reason for the gap "to make folding of the mount easier" then the reason is simply choice, we have book mounted up to and over on occasions 1000 pictures in a single day, we have experimented with gap, no gap, we find no gap is easier, quicker and more accurate in terms of less movement between the mount and under mount, I suspect the 2 mm gap has arisen for in inaccuracies in size and shape between the mount and under mount where it might have been advantageous to have a little wiggle between the two, equipment is better these days.
Re: You Tube Video - The Mount Package
Posted: Sat 03 Feb, 2018 8:53 am
by IFGL
So rather that just comment on this I will offer our method up, feel absolutely free to critique or point and laugh, I am a big boy and can take it.
Where possible we cut the under mount and mount out of the same card and we join the twi togetger well still in situ on the Mount cutter bed, clamps / vacuum on so theres no movement.
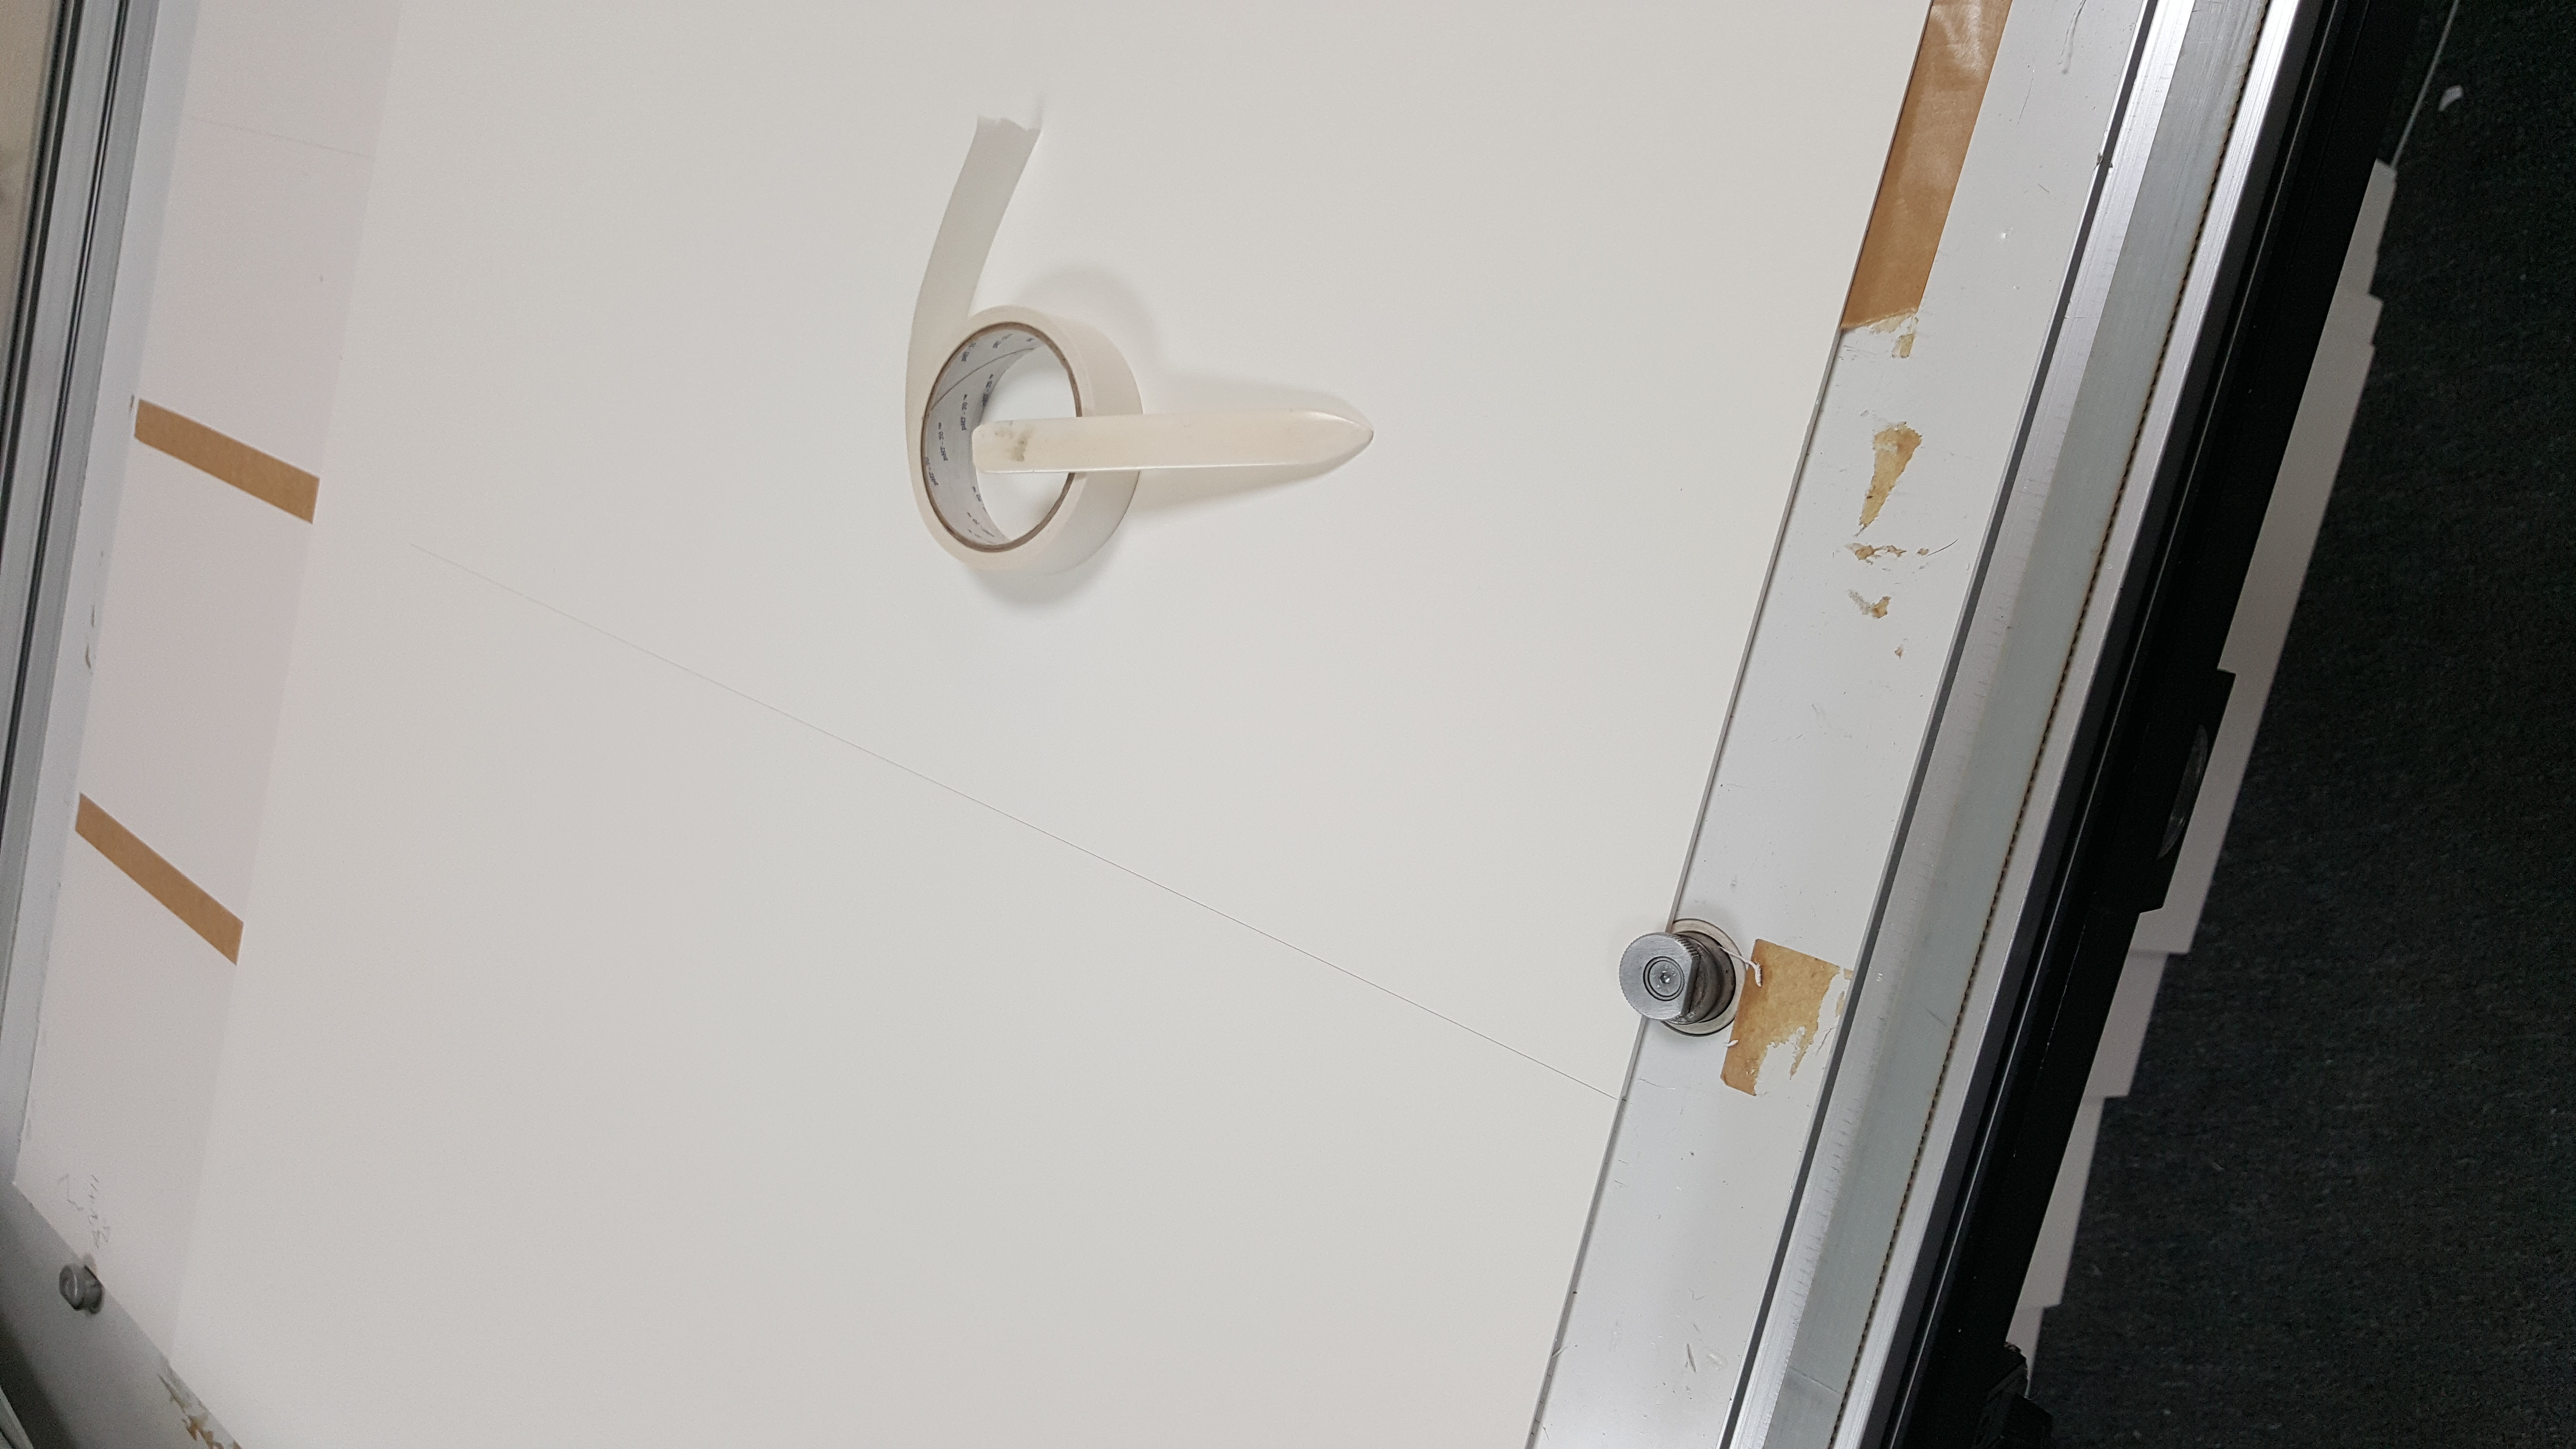
- 20180203_071603.jpg (3.65 MiB) Viewed 3430 times
Whether we ccut the aperture first or the outside Edge first just depends which Head is On The Mount cutter as we have a vacuum on machine this doesn't really matter. Once this is cutt and joined the accurately cut edges, tight butt up between the mount and undermount makes positioning folding the thing very very easy indeed.
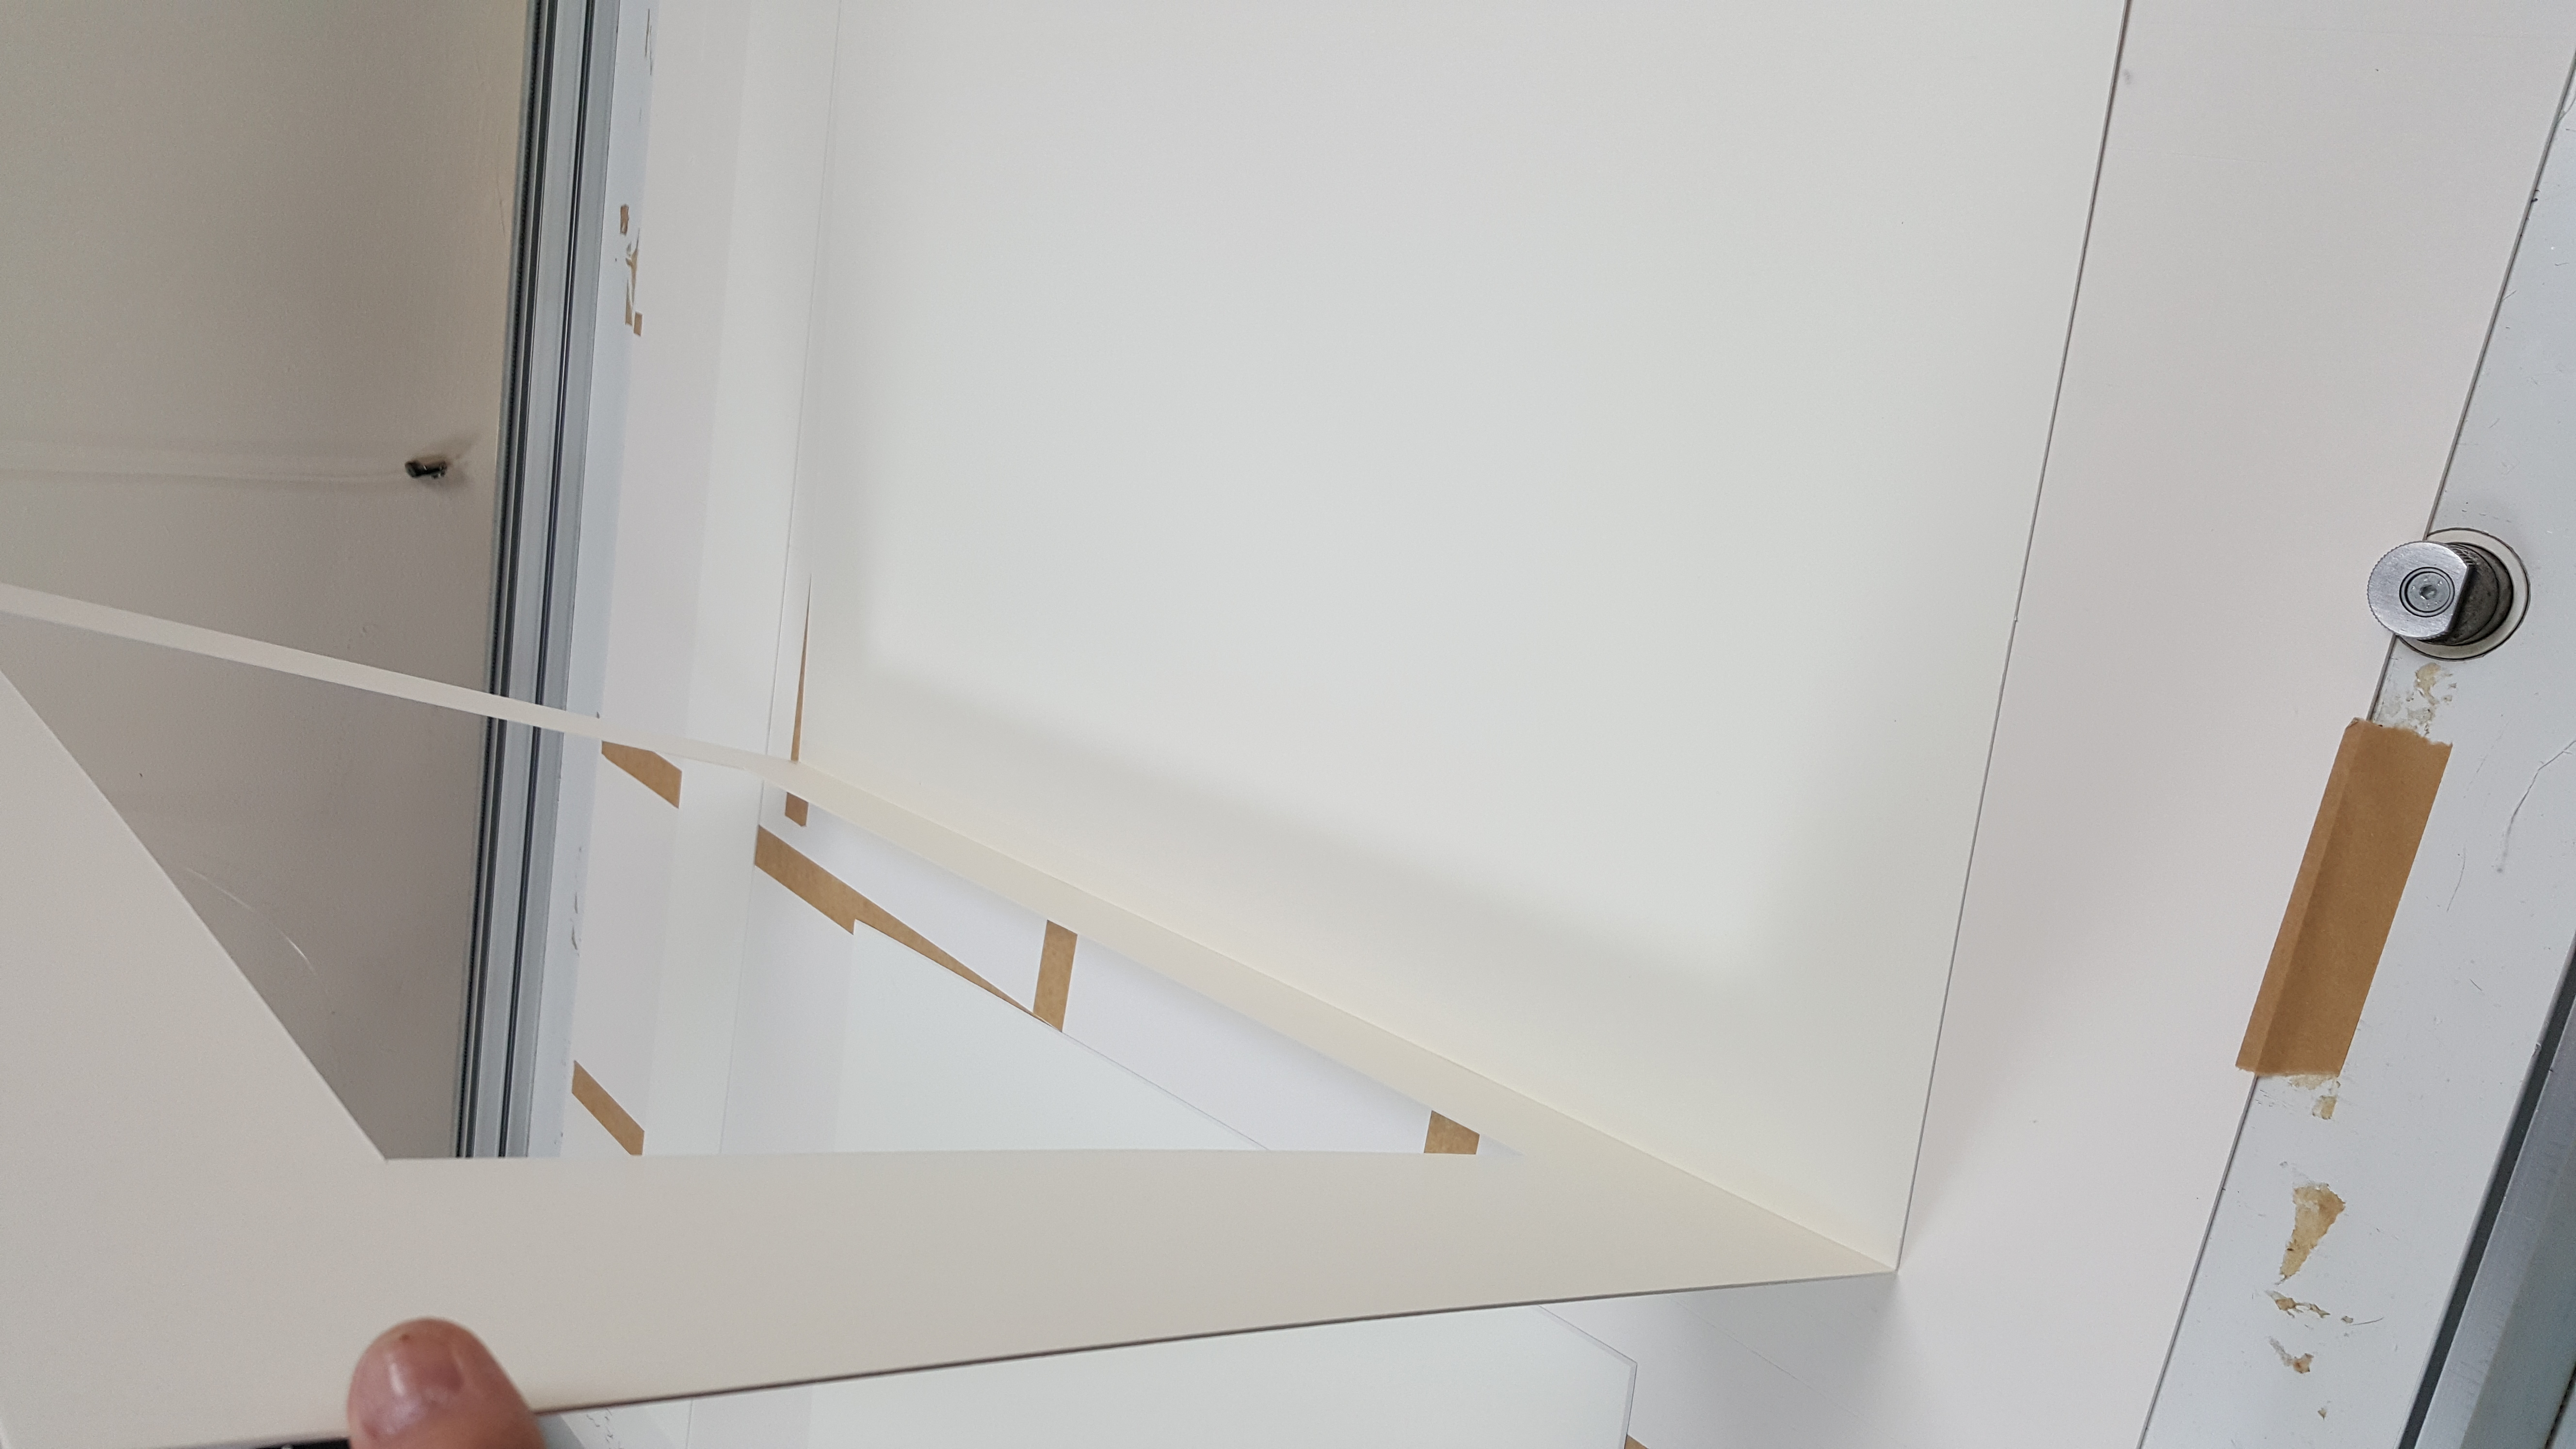
- 20180203_071733.jpg (2.65 MiB) Viewed 3430 times
If I was concerned about thin paper being grip too tightly i would put in a spacer around the art work the same thickness as the artwork.
Not finished yet, glass needs cleaning but you get the idea, fast efficient,easy and accurate

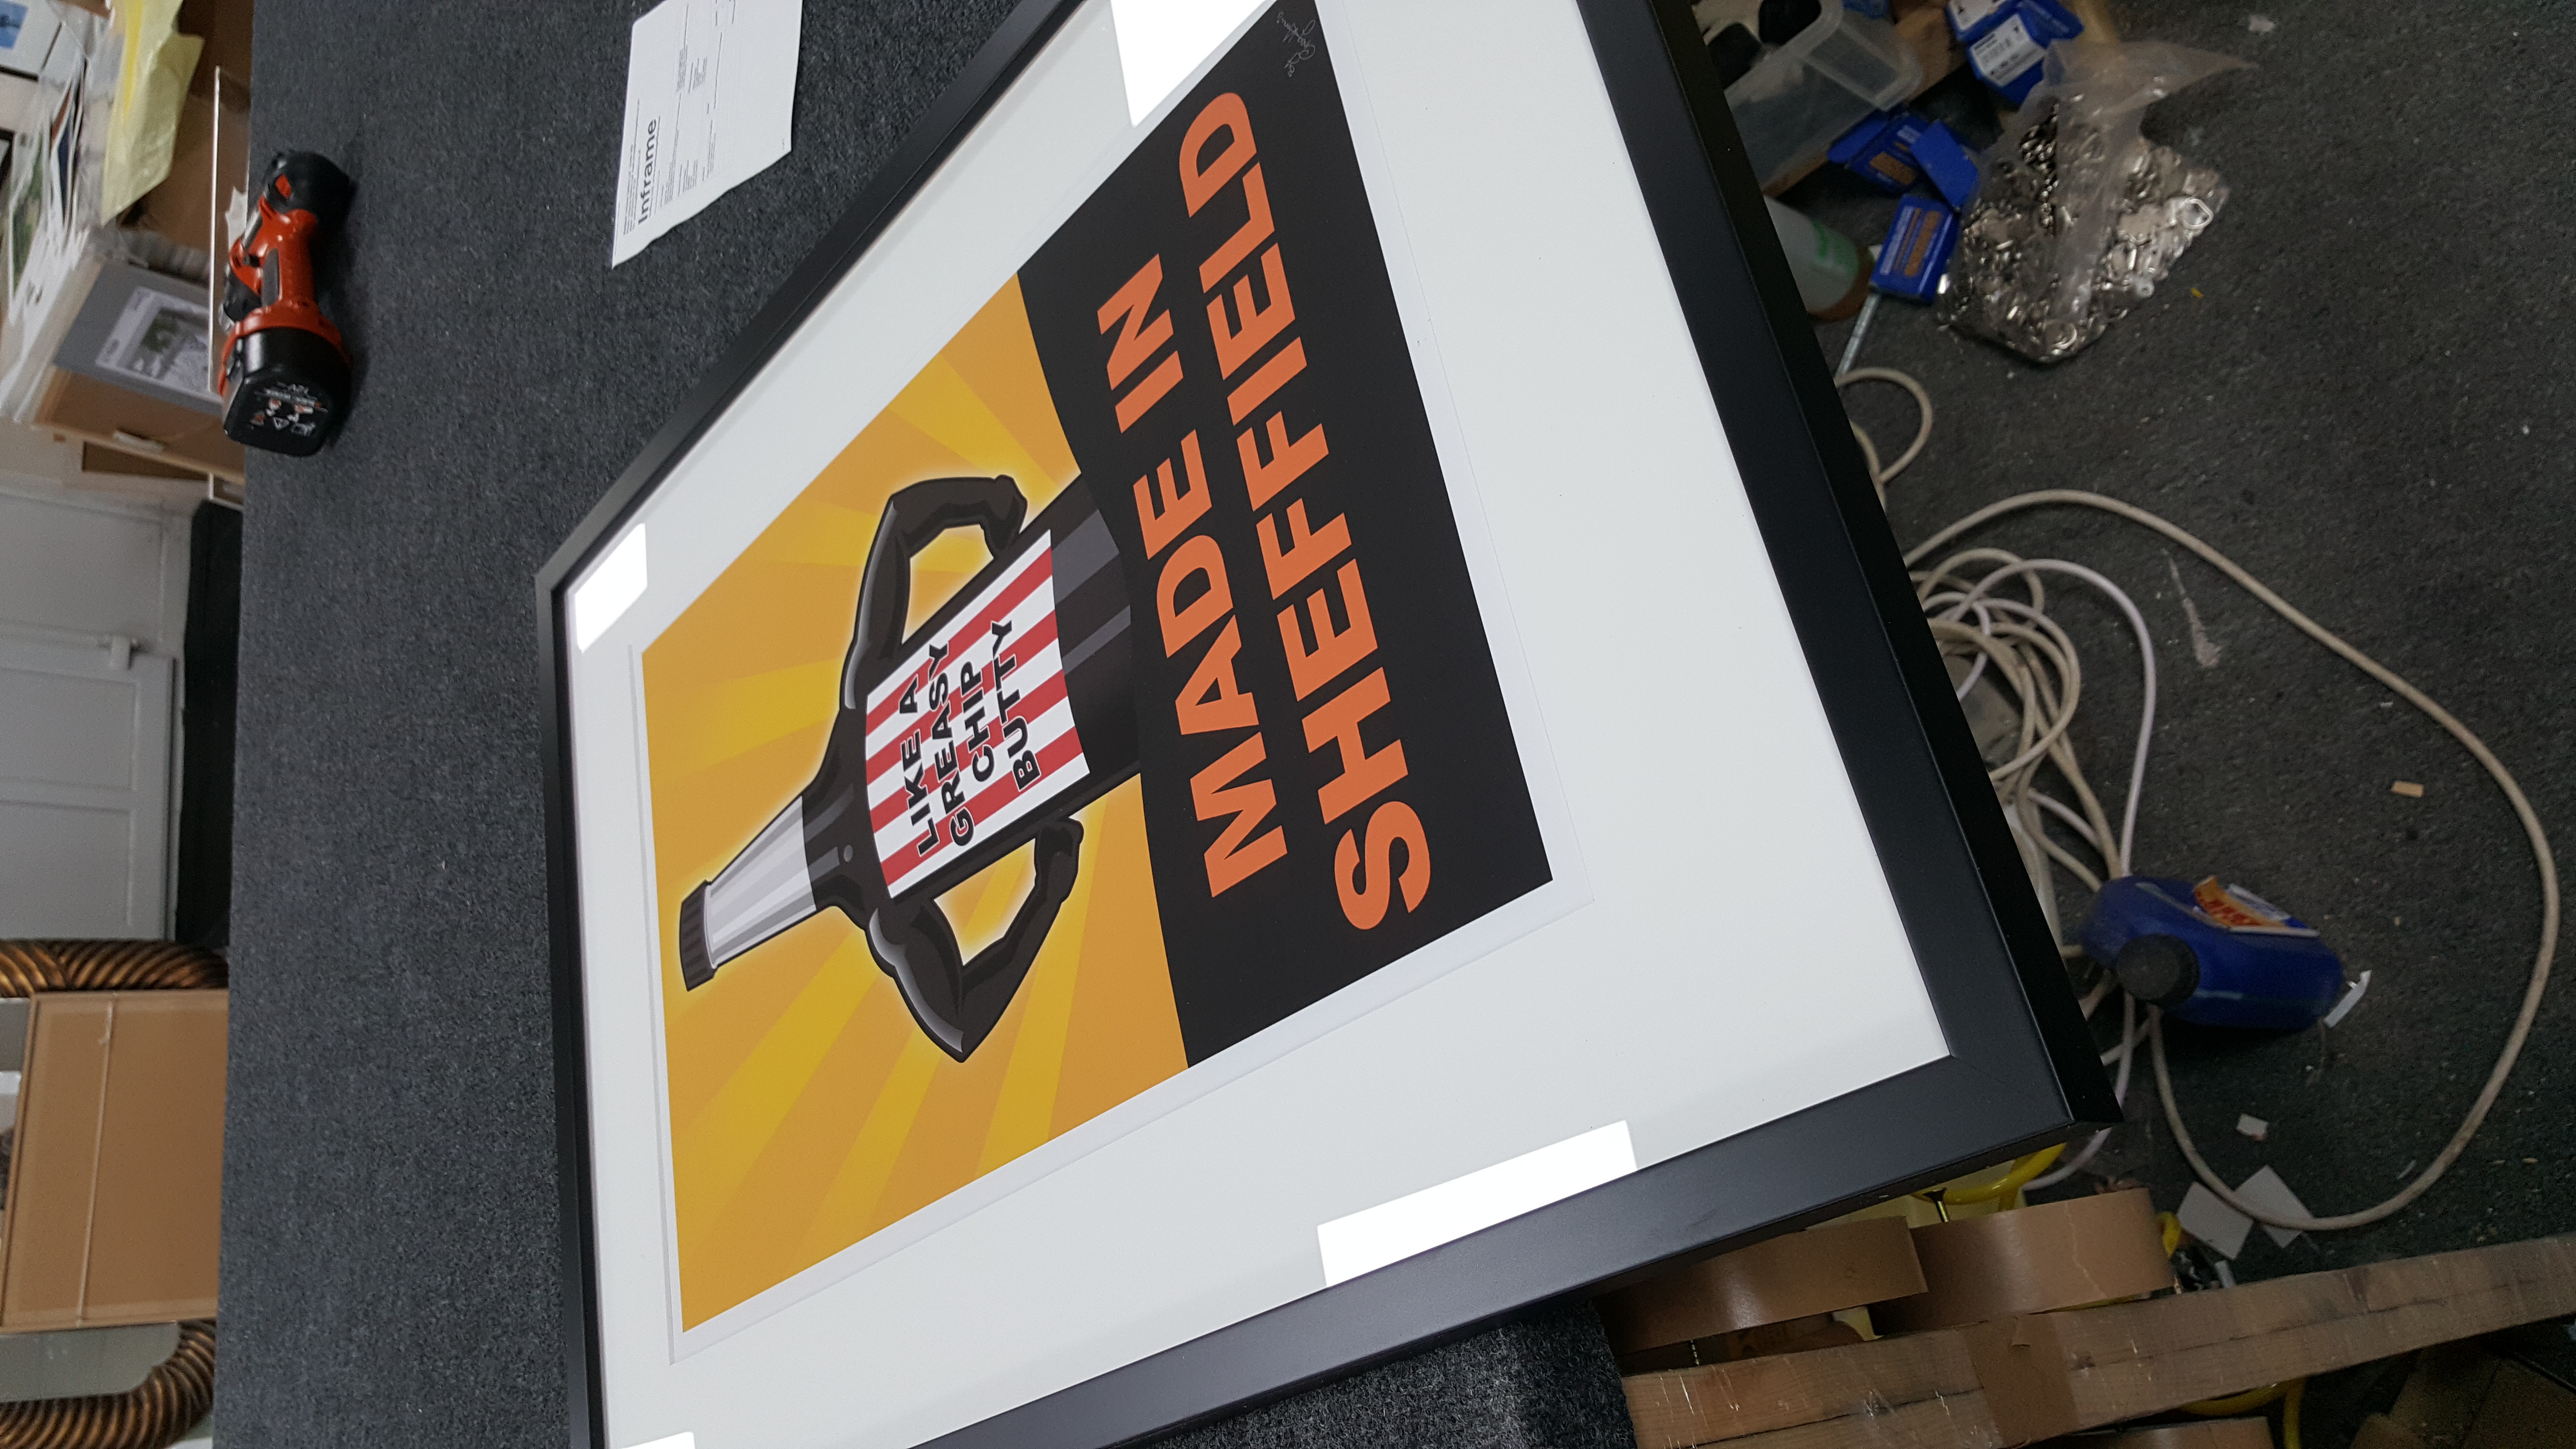
- 20180203_072447.jpg (4.15 MiB) Viewed 3430 times
Re: You Tube Video - The Mount Package
Posted: Sat 03 Feb, 2018 11:12 am
by IFGL
By the way tje bad diction is because I dictated it to my phone instead of typing because i am lazy
